Show lecturers timetable
From ZEuS-Wiki english
Introduction
Here, you can view the schedule of any lecturer you choose. Like your own class schedule, the lecturer schedule lists all courses the lecturer teaches within a given period of time. The examinations which he is responsible for as an examiner are listed as well.
Keep on reading to find out how to access the lecturer schedule, customise it and use the viewing options.
Role
This menu item ist available for users working in one of the following roles:
- Student/-in
- Lehrveranstaltungs- und Prüfungsmanagement
- Lehrveranstaltungsmanagement und Prüfungssektretariat
- Lehrperson
- Prüfer/-in
- Mitarbeiter/-in Zentrales Prüfungsamt
- Mitarbeiter/-in Prüfungssektretariat
How to
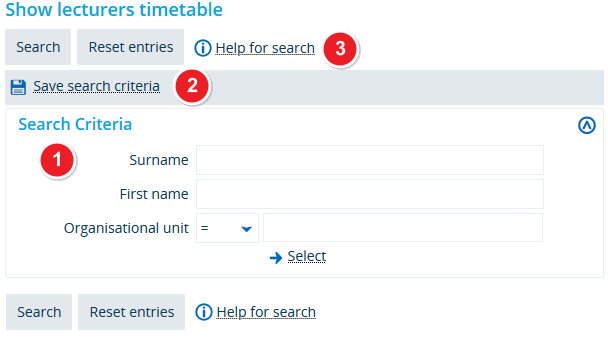
When you first open the programme, you will be shown a search field. Enter the name of the lecturer you want to view the schedule for. In case your search returns several results, you can then select the person you want to view the lecturer schedule for.
Step 1: Search for lecturers
Step 2: Select a lecturer
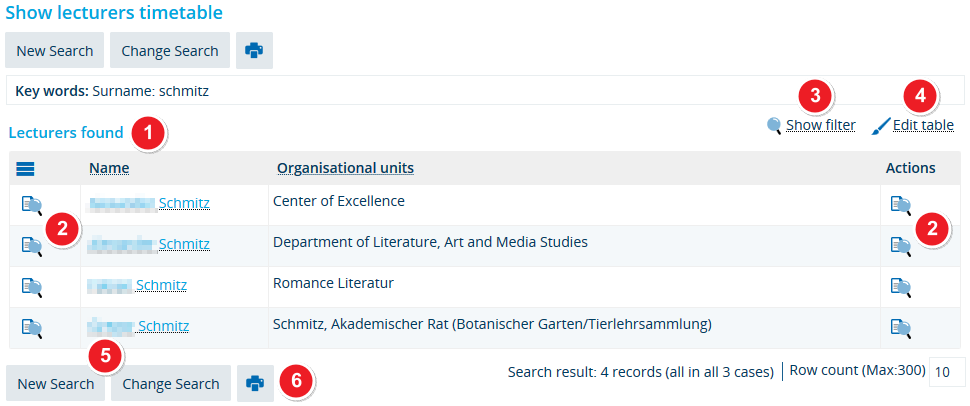
| Once the search is complete, you will be shown all results matching your search criteria under Lecturers found. | |
| In order to open the lecturer schedule, you can either click on the | |
| If the list of results is too long and difficult to interpret, you can apply additional to filters to narrow down your search results even further. Click on Show filterto open your filter options. Further information about creating and using filters is available in the Using filters in tables article. | |
| You can change the way your table looks, e.g. if you want to show fewer columns, change their order or view more rows per page. In order to customise your table, select Edit table and wait for the pop-up window to open. You can find more information about your options in the Editing options for tables article. | |
| Clicking on New search will take you back to the start of the search process. If you want to perform a search with the previous criteria, click on Change search. | |
| You can print the table with your search results by clicking on the printer icon. |
Step 3: View a lecturer schedule
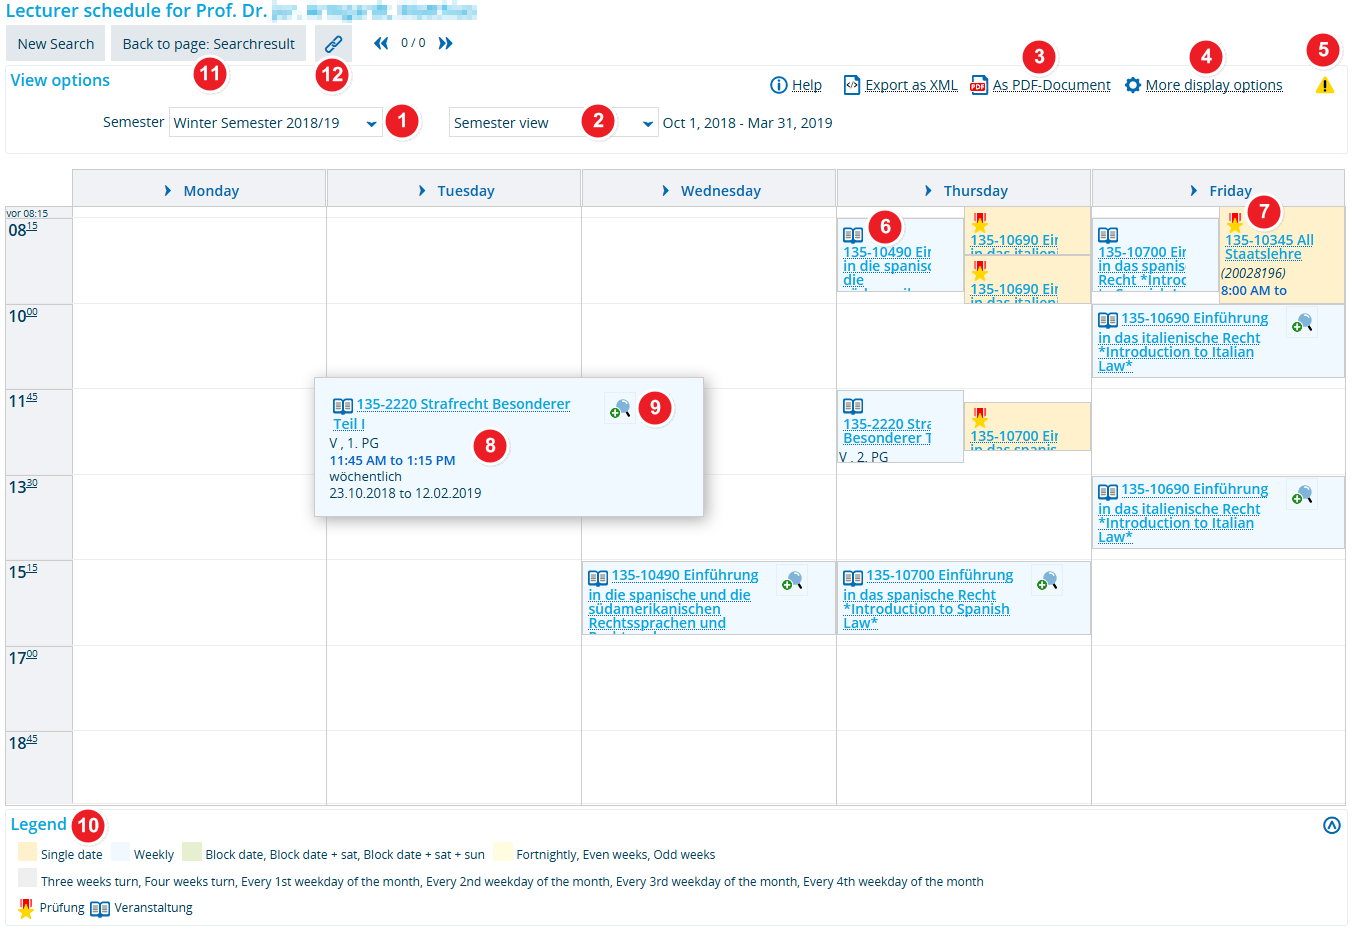
| First, select the semester in the dropdown menu you wish to view the lecturer schedule for. | |
Go to the drop down menu to select a viewing mode. Depending on your selection, the information that you are shown changes. The following viewing options are available:
| |
| Click on this button to create a PDF version of the lecturer schedule. The PDF adopts whatever viewing settings you set your lecturer schedule to in ZEuS. | |
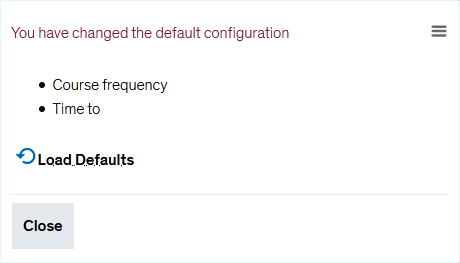
| You may adjust your lecturer schedule in various ways. Click on More display options to open the corresponding pop-up window. More details about your options are available in the Viewing options for the class schedule, lecturer schedule and study programme plans article. | |
| As soon as you adjust your viewing options, an exclamation mark will indicate that you have left the standard view. | |
| You can see the courses with the | |
| You recognize examinations with the | |
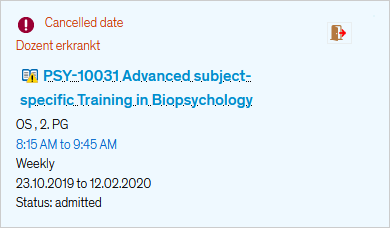
In order to access hidden information, hover your cursor over any course shown in the lecturer schedule (mouse over effect) to highlight the entry and the additional information associated with it.
| |
| Click on the corresponding icon to access the detailed course and examination view. | |
| Here you can also find a key explaining the various colours and symbols used in the lecturer schedule. | |
| |
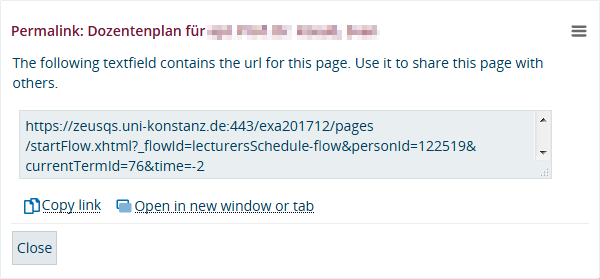
| If you require a permalink of the element in order to copy and share it, look for this chain symbol. It indicates a permanent link that refers to a stable URL. Clicking on it will activate a pop-up window containing the link that you can then save to your clipboard for further use. |
